AMAZING MACARONI & CHEESE

AMAZING MACARONI & CHEESE

This stuff is INCREDIBLE! Can be made completely gluten-free, nut-free, and or soy-free. I have been experimenting with tapioca flour lately and its delivering some pretty amazing results! I dare you to experiment with other beans, other peppers, other pastas- its completely amazing on the stove top or scroll down for a baked Mac&Cheese option. Let me know how it goes! 
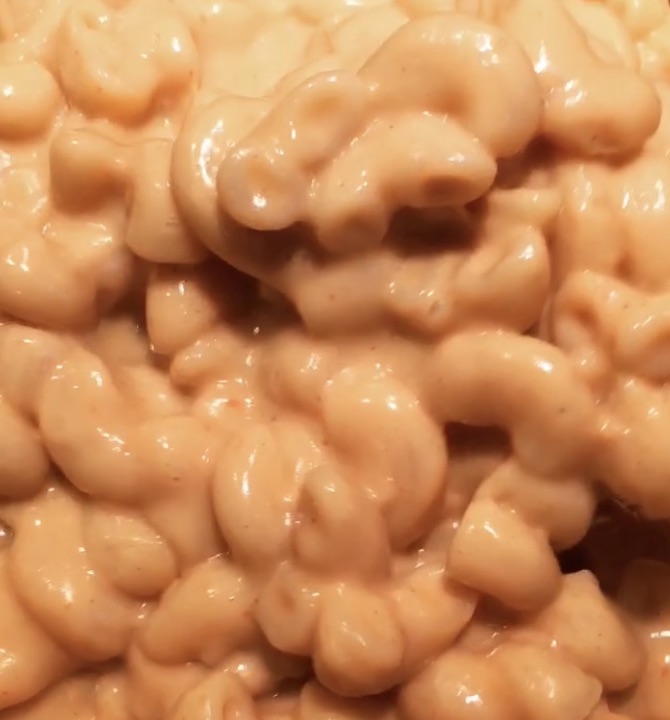
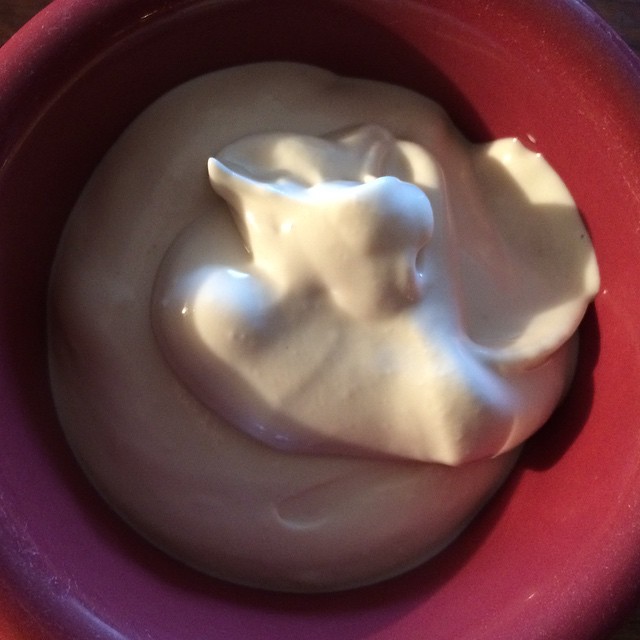
Cheese Sauce:

1c baby lima beans, cooked

½ red bell pepper OR 2 cherry bomb peppers (spicy)

2T mellow white miso paste

1/4c raw cashews OR 1/4c tofu (nut free) OR 1/4c coconut oil or Manna  (soy free)

1/4c nutritional yeast

1 clove garlic

2T tapioca starch

2t ume vinegar

1t brown rice vinegar

2t chipotle powder

2T extra virgin olive oil

Juice of 1 lemon

1c to 1-1/2c water (depending upon desired thickness)

1/2t pink salt

1 Pound of Gluten Free Elbow Pasta or other pasta

6c water to boil

2t pink salt

In a large pot, bring the pasta water to a boil, add the salt, toss in the pasta and cook until tender- 10-12 minutes or according to package. Drain and set aside.

Place all of ingredients except the tapioca starch into a blender and process until smooth and creamy. Taste it and adjust for saltiness and seasoning. When it tastes how you like, blend in the tapioca.

In a large pot (I use the pasta pot), put the cooked pasta back in, drizzle some coconut or olive oil in and add the cheese sauce. Put back over medium heat and mix  and stir well. The heat will make the mixture thicken and get creamy. When at desired creaminess, plate and indulge!!!

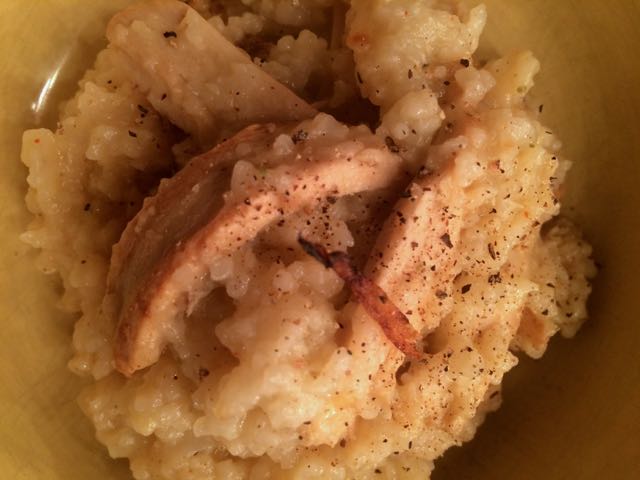
For Baked Mac&Cheese:

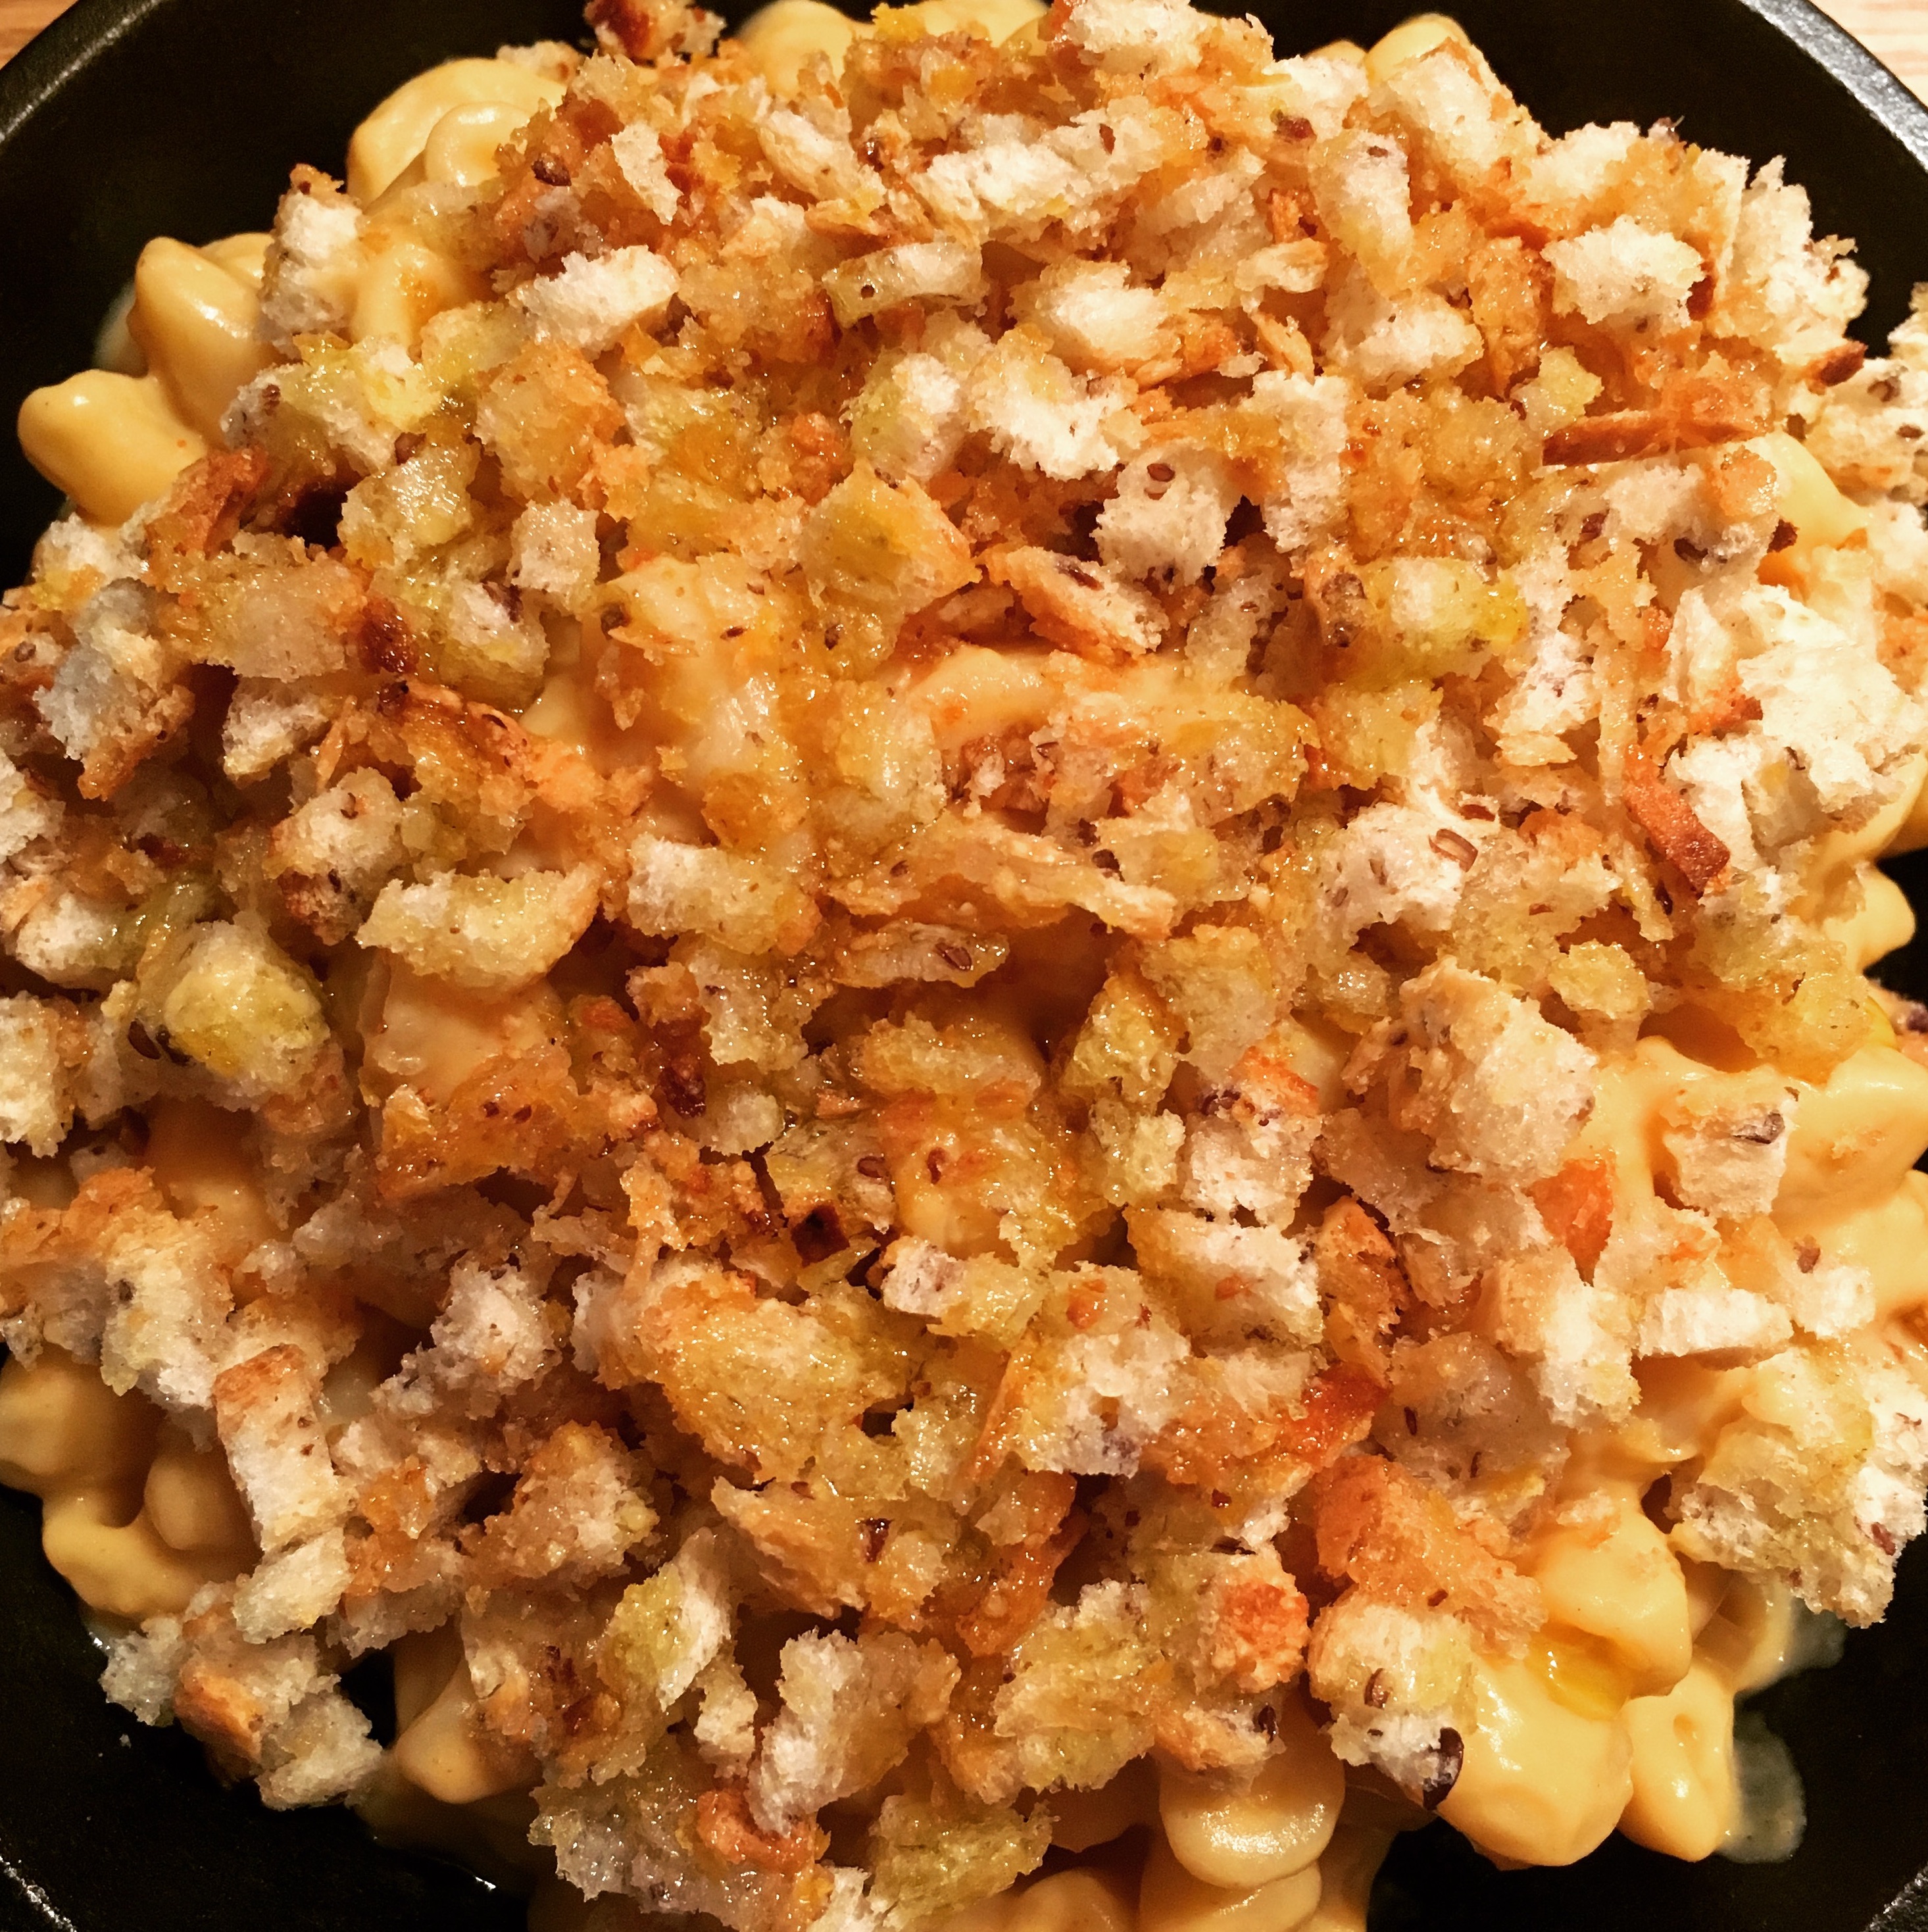
Leave the Mac&Cheese mixture on the wetter, creamier side- this is because it will be taking on additional cooking in the oven and you don’t want it to dry out.

Toast gluten free bread or bread of your choosing- enough to cover the portion you are baking. With a sharp knife, mince the bread into teeny pieces. Toss with coconut oil and salt and nutritional yeast. Scoop a single serving (or larger) and top with the breadcrumbs. Drizzle with olive oil, salt and pepper and bake at 350 degrees for 30 minutes or until bubbling and hot.

Advertisement

Roasted Kobocha Squash Soup

Any squash can be used for this delicious creamy, and simple soup. Kobocha squash has got such a lovely, sweet but not too sweet taste that pairs perfectly with ginger. I picked a beauty up at the local farmer’s market this past weekend and roasted it and have been putting it in to many meals since. As a time saver, the squash can be roasted in advance. If the squash is already roasted, this soup literally takes 8 minutes start to finish. The roasting step may even be omitted and the squash simply peeled, cubed, and cooked along with the other vegetables. Roasting draws out the most flavors and brings the sweetness of the squash to life, but it is not a necessity.

roasted-kobocha-squash-soup

Roasted Kobocha Squash Soup

Wheat-Free, Gluten-Free

1 large onion, coarsely chopped

2 cloves garlic, minced

2c roasted Kobocha squash*

1/4t chipotle powder *optional

1 fresh jalapeño or cherry bomb pepper, chopped

1t cinnamon

1/4t nutmeg

3T coconut oil

6c boiling water

1 vege bouillon

1t salt or to taste

1/4-1/3c cashews

1″ piece of fresh ginger

1T raw agave


Bring 6c of water to a boil.

Roasting the Squash: Clean the outer shell of the squash with cold water and pat it dry well with a dishtowel or paper cloth. With a sharp knife, split the squash down the middle, creating two halves. Seed the squash using a large spoon, scraping the stringy flesh and seeds from the center. With the cleaned halves, rub with oil and salt. Place face down on a cookie sheet or roasting dish and place in the oven for 40-45 minutes or until the flesh of the squash is tender, yielding to the touch. Let cool. When cool enough to handle, scoop out the roasted squash.Place the cashews, ginger, agave and fresh hot pepper in a blender and set aside.

In a large soup pot, add the oil and sauté the onions and garlic until golden and soft and aromatic. Add the yellow squash, the boullion (or powder) and the salt. Continue to sauté until the squash softens and turns bright yellow- about 3-4 minutes.  Add the boiling water to cover. Bring to a rapid boil and reduce heat and simmer for 2-3 more minutes.

 —

In batches, in a blender or vitamix*, transfer the soup pot contents into the blender and puree the soup with the contents in the blender. Adjust the seasonings if needed.

*Caution: blending hot liquids can be extremely dangerous. Fill the blender only half way and proceed in batches if necessary.

Vegetable Noodle Soup

So ya I got.. SICK!…. like….NAILED! After 26 hours of Yoga Teacher Training that for me was a HUGE milestone ( my first TT ever)…I am now resting and eating simple foods. I have made this soup for the past two days and I am convinced that practice is mastery- the more you do, the better  it turns out- this broth is PHENOMENAL.  It’s a simple broth- I didn’t want that tamari or soy sauce taste and I didn’t want bouillon- I wanted that full flavorful taste of asian broths that appear almost clear, nothing floating around in it, nothing to get in the way but this one has the antioxidant, antibacterial crud busting anti-inflammatory fighting properties of Turmeric. The first night I tried making it with garlic and I found that, tho it was tasty, it had that raw garlic taste that to me seemed a little bit overwhelming. Last night I omitted the garlic and stuck with the ginger and onions. I think I am in love. The broth takes less than 10 minutes to make- less even- then I added in beautiful local veggies; Sautéed Kale, sweet potatoes, and some Chipotle Baked Tofu I had in the fridge. You could definitely play with flavors by adding mushrooms or scallions etc- this was me, in the middle of a 27 hour training, sick- and it was 

D E L I C I O U S.

broth

Simple Turmeric Broth for Vegetable Noodle Soup 2016

6c water

½ onion, coarsely chopped

2” fresh ginger, grated

1t turmeric

1t sesame oil

1t pink salt

Put everything in a pot, and bring to a boil. Reduce heat and simmer for 5-10 minutes.

Strain the broth through a fine mesh sieve into a large heatproof pitcher (I use my Vitamix container) or bowl. Discard the vegetables. Pour the broth back into the pot and then proceed to add fresh veggies, cooked rice noodles. This is the simplest, clear broth and it is just so easy and perfect for a pick me up or when you are not feeling full force to sip on.

sick-girl-noodle-soup

Vegetable Noodle Soup

3-4c Simple Broth

1/2 steamed sweet potato, sliced

1c Sautéed Kale

Sliced Chipotle Baked Tofu

1 serving rice noodles or vermicelli

1t hot sesame oil

Hot Water for noodles

optional: you could add other veggies; mushrooms, baby corn, water chestnuts etc.

In a bowl, add the uncooked, quick cooking noodles and cover with hot water. Cover and let steam. Set aside.

In a large skillet heat up the olive oil over medium high heat , prepare the Sautéed Kale by sautéing the garlic just until golden brown. Add the salt, red pepper, and then add the kale. With a fork or a pair of tongs, move the kale around the pan cooking the kale until wilted and tender. Remove from the pan and set aside. In the same pan, add little bit of hot water and the already cooked sweet potatoes slices just to heat them through. Set aside.

In the same skillet, heat up the broth and bring to a low boil.

In a serving bowl, place the cooked noodles on the bottom of the bowl. Add the cooked Kale, the sweet potatoes and the slices of tofu. Ladle the broth over to cover.Drizzle in the hot sesame oil. Taste and adjust for saltiness.

Fricken delicious.

Chipotle Baked Tofu

chipotle-baked-tofu

Not feeling well and going through my fridge, I wanted something quick and delicious that I didn’t have to fuss over. This was so good I made it again today.In 35-40 minutes you have perfect yumminess that really does taste a lot like chicken. This is great to have on hand- in the fridge as a quick snack, to add to soups, sandwiches or to eat hot with veggies and quinoa or rice for a meal. I am cherry bomb everything right now but you could definitely use another pepper instead, hotter or more mild. The cherry bombs lend a sweetness that is incomparable, the chipotle adds a deep, mellow, spicy that is one of my favorite flavor profiles. I may or may not be having this tonight with smashed potatoes and kale… SIMPLE.

1 Pound tofu, thinly sliced in long cubes, about 1” thick, 2″ long

2-4T Olive oil

1/2t chipotle powder (more or less)

1/2t pink salt (more or less)

1 cherry bomb or jalapeño pepper, sliced, with or without seeds (seeds make it hotter)

2T nutritional yeast

Pre-heat the oven to 375 degrees.

In a roasting pan or dish, drizzle about 3T of olive oil on the bottom of the pan.

Place the tofu rectangle cubes in the oil. Sprinkle the top with the chipotle powder, then add the sliced peppers on top and then sprinkle the salt, then nutritional yeast. Drizzle the top with more olive oil.

Roast in the oven/ convection oven for 40 minutes or until golden brown.

This tofu is absolutely delicious, hot OR cold.

THIS SHIT TASTES LIKE SPICY CHICKEN

Stewed Summer Tomatoes

Stewed Summer Tomatoes

Stewed Summer Tomatoes

10 tomatoes (roma or plum), split length wise in 1/2

2 teaspoons salt

1 small onion, medium dice

1 clove garlic, sliced

2T extra virgin olive oil

1 cherry bomb pepper, sliced *optional

3-4 large leaves of fresh basil

1-1/2c boiling water

Heat up a large cooking pot; add the olive oil and onions and sauté just until translucent. Add the garlic slices and tomato halves to the onions. Cover with hot water. Bring everything to a boil and then reduce the heat to medium to medium-low and continue to cook uncovered for 30 minutes or so. The tomatoes should remain intact. Allow to cool for at least 30 minutes if not using right away to store. Remove from the pot to a jar or glass container and while still warm, add the fresh basil. If eating immediately, add the fresh basil in at the end before serving and drizzle with more salt and olive oil.

Serve fresh or you can freeze them. I eat them over crusty bread as a snack hot, warm or cold. I also use them to make a delicious dish; Baked Pasta with Stewed Tomatoes. AMAZE.

Gluten Free Double Fudge Walnut Brownies

Gluten Free Double Fudge Walnut Brownies

These are sort of to die for…… I don’t think anyone would know that these are vegan OR gluten free…they are nothing but deliciousness…ORGANIC VEGAN GLUTEN FREE WHOLE GRAIN BROWNIESCOME ON!

Gluten Free Double Fudge Walnut Brownies 2015

makes 6 large squares

1/3c GF All Purpose flour, I use Bob’s RedMill

1/3c rolled oats- to be buzzed
1/2c +1T cocoa powder
3/4c sucanat, maple or date sugar
1/4c chocolate chips
1/2c walnuts, chopped and divided
1/4t baking powder
1/4t salt
—-
1/4c maple syrup
1/4c coconut oil, melted
1/4c cooked sweet potato puree*
1t vanilla

Preheat oven to 350º

Process the oats in a food processor until they are the consistency of coarse flour.

In a small bowl, mix all of the wet ingredients together, the sweet potato puree*, the maple syrup, coconut oil, and vanilla.
In a separate, larger bowl, place all of the dry ingredients; sucanat, chocolate chips, and 1/2 of the nuts (if you are using them). In the same bowl, sift the flour, cocoa powder, baking powder and salt. Sifting isn’t absolutely necessary but it insures there won’t be clumps of flour or worse, chunks of salt, in the batter.
Pour the wet ingredients into the dry and with a spatula mix until everything is well incorporated.
Pour into a greased baking pan; sprinkle the remaining nuts on top.
Bake for 15 minutes. Turn the pan and continue to bake for another 3-5 minutes or until done in the center. Let cool for at least 15 minutes before attempting to cut.

*To make sweet potato puree:
Begin by boiling, steaming or roasting one medium size sweet potato, peeled and cut into pieces. When the sweet potatoes are soft, tender and cooked, place them into the food processor, reserving and using any cooking liquid if the blade is unable to move through the puree smoothly. The end result is a beautiful, smooth, orange puree. Of course you could skip this process entirely and buy organic, canned sweet potatoes.

With a dry measuring cup measure the 1/2c of the puree.

Variation
1) Use a teaspoon of peppermint extract in addition to vanilla for a refreshing change. They are delicious!

Ellen’s Vegan Chicken & Rice

Ellen's Vegan Chicken & Rice

Ellen’s Vegan Chicken & Rice

I was watching a cooking show on traditional southern cooking and was inspired to make this simple, loving, nourishing porridge style comfort food- completely gluten & cruelty free 😉

Wheat-free, Gluten-Free

1-1/2c white basmati rice or long grain

1 medium onion, minced

1/2t turmeric (fresh or dried)

4.5oz of Beyond Meat Chicken Strips (1/2 a package), room temperature, thinly sliced

2 vegetable bouillon cubes

1/2t black pepper

1t-pink salt

1t-smoked salt

1t chipotle powder *optional

1/4c extra virgin olive oil

6c boiling water

1t salt or to taste

Bring 6-8c of water to a boil.

In a large soup pot, add ½ of the olive oil and sauté ½ of the onions, until golden and soft. Add the sliced vegan chicken and sauté over medium heat for 2-3 minutes until it shows signs of crisping and the onions caramelize and darken. Remove from the pot to a dish, cover with a plate or lid and set aside.

In the same pot, add the remaining olive oil and onions, salts and peppers and sauté just until the onions are golden and aromatic. Add in the hot water and the vegetable bouillon. Stir in the uncooked rice. Bring to a low boil and reduce heat and simmer for 30-40 minutes, uncovered, stirring occasionally adding additional water if needed. In the last 5 minutes of cooking add back in the cooked chicken.

Adjust the seasonings before serving. If there is excess water, cover the pot to allow it to be absorbed. Serve on its own or with a side of fresh, steamed or sautéed greens.

White Girl Gingered Cabbage & Corn Congee

*White Girl Gingered Cabbage & Corn Congee

 This is an incredibly comforting and healing food. It is reminiscent of a Chinese egg drop soup, the broken rice lends a rich, starchy consistency to the soup that just feels amazing going down. I had squirreled away the most gorgeous corn this past summer and in lieu of BEING DONE WITH THIS WINTER and getting ready for the spring….I pulled it out of the freezer. Of course the ingredients can change but the combination was so satisfying plus the addition of the Beyond the Meat vegan chicken…it just a bowl of yum. I love this as a breakfast too!

White Girl Gingered Cabbage & Corn Congee

6 strips of Beyond Meat Vegan No Chicken, thawed, cut into small pieces

3/4c white broken rice or short-grain white rice

1 vegetable bouillon

1/2c yellow or red split dal

2-inch piece of ginger, minced or grated

2 stalks celery, medium dice or cut on the bias

1/4 small head of green cabbage, chopped

2 teaspoon salt + more to taste (I add ½ smoked salt, ½ pink)

½ large onion, minced

2 clove garlic, minced

1c corn niblets

2T coconut oil

1/2t smoked chipotle powder

6 to 8 cups boiling water

In a large pot, heat up 2t of coconut oil. Add in a pinch of the minced ginger, a pinch of minced garlic and about 1T of the minced onion. Sauté the vegetables over medium high heat just until golden. Add in the chopped cabbage and continue to sauté over medium high heat, just until tender, about 3-5 minutes. Remove from the pot and set aside.

In the same pot, add the remaining coconut oil. Add the onions, ginger, garlic and celery and sauté over medium heat just until golden. Add in rice and the split peas and the vegetable bouillon. Cover with about 4-5 cups of boiling water and mix well. Bring to a boil and then reduce the heat to low. Allow the mixture to cook partially covered for at least 45 minutes, stirring frequently, adding water if necessary- there should be plenty of water for the porridge to ‘grow’ into. After about 30 minutes, add in some of the salt and chipotle and check for seasonings. It should be thickening as the rice and the dal start to break down. Add water in as necessary to achieve the desired consistency- I prefer mine on the thicker side, but still very much soup like. Overall, it should be ready after about an hour of cooking but will only get softer over time.

In the last minutes of cooking, add in the corn, the vegan chicken, and the sautéed cabbage.

I like to also add in some fresh ginger at the end to give it a fresh kick.

Salt and pepper to taste…this IS comfort food.

Plain Sour Cashew Cream

Plain Sour Cashew Cream

Ummmmmm. It’s Sour Cream. SOUR CREAM. Just made out of cashews…not animal milk.

This. Makes me. Happy.I just had my hands on junky store bought vegan sour cream that was filled with crap. THIS..is not.

Hello Onion Dip, baked potatoes, plain yogurt, you get where I’m going….. Oh. And its RAW and filled with pro-biotics.

Plain Sour Cashew Cream

1c cashews, soaked for an hour (this step can be skipped)

5 capsules vegan probiotics (empty powder and dispose of the capsule) or 1t powder

3/4 +up to 3T filtered water

1/2t pink salt

1T lemon juice (omit if fresh is not available)

Step 1.

In a Vitamix or high-powered blender, add the cashews (drained if soaked), the probiotic powder, water.

Blend this at a lower speed initially to well incorporate the contents, speed up the motor as it gets blended. You will need to process this for at least 3-5 minutes until the cashews are absolutely creamy. Scrape down the sides intermittently and be sure to get all possible ‘pieces’ of cashews blended into the mix. Add a T of water as needed if the mixture gets stuck or if the mixture seems to thick. If you run this too fast, the contents will heat up, creating an oily mixture.

When totally creamy and smooth, remove to a glass or stainless steel bowl and set in a safe, warm place- I place mine in the dehydrator at about 100 degrees and let it run overnight. You could also in lieu of a dehydrator, place it in a warm spot in your kitchen, covered. Leave this overnight or for 24hours.

Step 2.

Mix in the salt and lemon juice. Transfer to a container and place in the fridge for at least 6 hours to set, best, overnight. If this set up thicker than desired, add a little bit of water to loosen it up to the desired consistency.

Perfect Gluten Free Pumpkin Pie

Gluten free pumpkin pie

This pie is DELICIOUS. I mean, seriously good. Serve it up with some Coconut Whipped Topping or a side of vegan vanilla ice cream…..I love love love this pie. Happy Holidays!!!!

Perfect Gluten Free Pumpkin Pie

The Filling:

1 1/3c pumpkin puree (1 15-ounce can or cooked pumpkin puree)

1/4c maple syrup

1/4c maple sugar

1/2c unsweetened cashew cream (1/4c cashews/ 1c water blended)

1T coconut oil

2t pumpkin spice (or choose a mix of allspice, clove, ginger, cinnamon & nutmeg)

2T Kudzu root (blended in the cashew milk)

2”piece of fresh ginger

1/2″ piece of fresh turmeric

1T fresh lemon juice (omit if fresh is not available)

1/4t pink salt

1t vanilla

The Crust:

3T cold vegan butter

3T cold coconut oil

1-1/4c Bobs Red Mill GF All Purpose Flour, or your favorite GF mix.

1/4t pink salt

3T maple sugar

4-6T ice cold water

Prepare the Pie Crust:

You can make both the filling and the crust ahead of time- the crust you can make a day or two in advance and keep in the fridge. If you are preparing in one day, make the crust, chill it and then prepare the filling. Your dough should be ready to roll out after about 30 minutes in the fridge.

 Sift the GF flour, sugar, and salt into a large mixing bowl. Add the cold butter and oil in 1T scoops and cut the oil into the flour using two knives or a pastry cutter. The end result should look like a sandy crumb or meal. There should not be any large chunks of oil; you want smallish bead sized bits of fat encased in the flour.

Add ice water 1T at a time using a wooden spoon to mix it in, grabbing the flour as you go. Only add as much water as you need to help it come together to form a ball.

Once a loose ball of dough is formed, transfer onto a piece of plastic wrap and work gently with your hands to form a ½” thick round. Wrap firmly and chill for a minimum 20 minutes, you can prepare and store for up to 2 days. Let it  warm back up a little before using but not quite to room temp. You don’t want it too warm or it can get too soft to handle.

I uniformly press the hell out of it into the pie plate and then let it set for 10 minutes prior to filling.

Prepare the filling:

In a blender or vitamix, make the cashew cream (1c water/ 1/4c cashews) and pour 1/2c of the cream into a small glass.

Add the kudzu root and mix with a spoon until most of the root is dissolved. Add this into the blender with the rest of the ingredients.

In the same blender, add the all of the ingredients including the kudzu cashew cream slurry. Blend until completely smooth and creamy- taste it and adjust the flavors (more vanilla, more sweet, more ginger, more spice etc.). Set aside and roll out your dough.

To roll out the crust, unwrap the disc and place it between two sizable layers of wax paper (plastic wrap will work OK, but is a little more difficult to work with). Use a rolling pin to gently roll it into the shape of your pie pan. It will crack, don’t worry, you will mostly be pressing this into the pie plate with your hands- you just want to get the dough as thin as possible before hand. Any holes or cracks you can patch with no problem.

To transfer the crust, remove the top layer of wax paper and gently lay the pie dish face down on top of the crust and use the support of the wax paper to quickly but carefully flip it as center as possible over the pie pan.

Once in the pan, gently use your hands to form it into the pan, working the crust up along the sides. Try to get the pie up as uniformly as possible all around. You can leave a straight no fuss edge or I like to make a curve design by pressing my right knuckle in between the pie dough and my left pointer finger knuckle and thumb.

Pour the filling into piecrust and bake for 45-55 minutes, or until it smells and looks done. The crust should be golden brown and the filling will still be just a bit soft and have beautiful cracking on the top. Remove from the oven and let cool completely before transferring to the refrigerator to set. Refrigerate for at least 4-6 hours, preferably overnight.